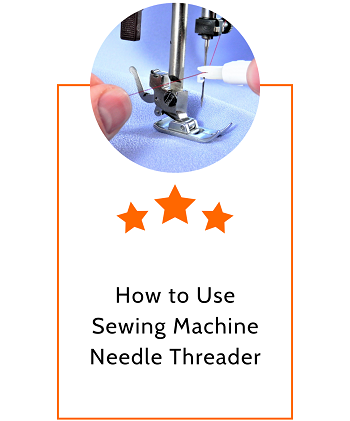
In any sewing project, the first thing we usually have to thread is the needle.
Threading needles is one of the crucial tasks that we can never skip. But at a time, it is very frustrating to do this job.
Most people find it very difficult to thread a needle. In the past times, people used to thread the needle using freehand. Sometimes it would have been like they get failed after several attempts.
If you are a beginner to start any textile project, then it would be a very horrible experience! Especially when you don’t know how to do this.
Here we will guide you with some tips and steps to use a sewing machine needle threader. Before that let us provide some basic information about Needle Threader.
What is Needle Threader?
The needle threader is a small sewing tool that is designed to thread the needle. This is done by pulling the thread through the eye of the needle.
If we take a closer look over history, then we see the first invention time is unknown. It would be between eighteen and early nineteen within the European context. It includes a tube with two holes set horizontally opposite to each other. A needle is placed in the tube in a way that the needle’s eye resembles the paired holes. Then a thread is passed through the holes at times.
But in modern times, many kinds exist in the market. You can thread the needle in two ways where one using a typical needle threader and the other using a machine threader.
A typical needle threader combines a short length of fine wire bent into a diamond shape. One corner of the wire is attached to a piece of tinplate or plastic where the machine threader has all the equipment attached to a small device.
You will get the typical needle threader in the sewing section of the store and often with the set of the sewing needle. It might have a cover to protect the wire of the threader.
Ways to Use Sewing Machine Threader
We will discuss both common and automatic needle threaders. Also, how to use them for threading. We’ll briefly describe them step by step so that you can understand them easily. Let’s start with the typical needle threader.
Using a Typical Machine Threader
We are talking about that typical type that has a wire loop attached to a tinplate. Let’s have a look over the steps of using it.
- Take threader in one hand and thread in another hand.
- Hold the threaded handle between the thumbs and forefinger of your dominant hand.
- Insert the wire loop into the needle eyes and bring the threader body close to the needle.
- Take a thread from the spool on the other hand and insert the thread through the loop.
- Pull the thread through the loop, so you get an inch of wire to hold.
- Now fold the thread and hold both lengths of thread.
- While holding both thread and wire in one hand, pull the threader handle by another hand.
- Once the wire loop is out of the needle, then pull the thread out of the wire. Now the needle is ready to stitch start the stitching.
Using Automatic Machine Threader
With a modern days sewing machine, you will get a needle threader that is attached to the machine. You will find it near the needle though you have to use your hand. Otherwise, there is a lot of gadget available in the market through both types works similarly. Let’s first briefly discuss the one that is attached to the machine.
- Raise the needle to its highest position by rotating the machine pulley orchard wheel.
- Besides the needle, there is a thread guide. Hook the thread under the thread guide.
- Then pull the threader guide down and pass the thread into the hook. The hook will be on the opposite side of the needle eye.
- Now release the threader guide and pull the loop through the eye of the needle. Pull the thread on the side completely.
Well, if you do not have that attached machine needle threader or you do not have time to visit the store to buy the typical threader. Then you can easily make them at home. You don’t need a lot of things to do. All you need is a small piece of “tin” cut from the Pepsi can, a cutter, a wire stripper, a small plier, and a short length of copper wire.
Let’s see the step of making the needle threader;
- Take a gauge wire that you may find from any unused electric wire.
- Cut the metal of the can using regular scissors.
- Take a piece of wire and bent it so that it can go through the needle eye.
- Now attach the wire to the can piece using glue.
- To check whether it works or not, push the wire loop to the needle eye. Place a thread through the loop and pull the wire in reverse. Now you get to see that it works!
Final words
Though a needle threader is a small thing, it’s a significant problem while threading a needle. Especially as you get up in years and you are tired late at night.
Your eyes are not what they should be, but you have to finish a project immediately. In these cases, it becomes very hard to thread the needle.
Here we tried to help you with the solution. Our motive was to provide you with all the details about using a sewing machine threader. We hope we have fulfilled your need.