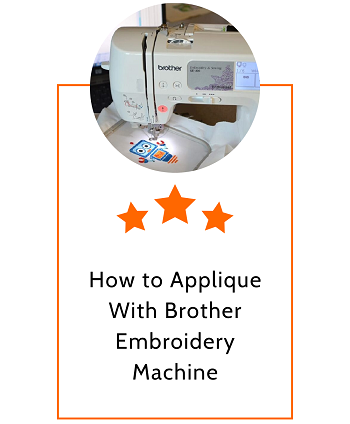
Applique is a creative way to improve the design of our clothes. Users have to stitch other fabric pieces onto a bigger fabric base rather than creating fill stitches.
The finishing looks great despite requiring less amount of thread. It also reduces puckering issues and active working time.
Although we can make applique by hand, an embroidery machine makes the process way more manageable.
It always produces accurate designs within a minimal time. Beginners should pay proper attention to learn the mechanism of the machine. If you already have sufficient knowledge, you can try applique directly.
A Brother embroidery machine is our favorite among all embroidery units. So, we are about to present a detailed overview of doing applique with Brother models. Let’s get started.
Gather you supplies
Of course, you will need a Brother embroidery model and hoop, which arrive with it. Then, your garment base and colorful fabric pieces are on the working table. Collect tracing wheel, bobbin thread, spray adhesive, embroidery thread, transfer paper, needles, scissors, iron, fabric pen, etc. Keep all essentials close to you so that you can grab them whenever you need them.
Load the designs
First of all, you have to load desired patterns to the device. You will find the instructions on the product manual or the company’s website. The included LED monitor will help you to review the designs before application. All you need to do is choose and select.
Hoop all materials
Preparing the hoop is your third job. You will be applying embroidery on it. Sort the materials in a specific order and stabilize them. Stabilizing assists in maintaining fabric stability so that sewists can create the patterns correctly. Tight the screw to keep everything in their positions.
Prepare outlines of the applique
The outline is one of the most crucial parts for newbies. It ensures that our designs will sit perfectly on the base garment. Feel free to use any random color because it will vanish after applying the applique.
However, don’t compromise on the stitch quality. Otherwise, the whole design will be messed up. Lower the presser foot and wait until the needle button becomes green. As soon as you start, the device will be stitching outlines on the fabric.
Apply fabric over outlines
Next, you have to bring the fabric under the needles. As there are already outlines, you’ll get a clear idea of the edges. Use conventional stitching items such as tape, rulers, double sticky tape, etc. Sometimes, People use pins to keep fabric fixed, but it damages the designs.
So, it is better to hold the material with one hand and perform stitching with the other. Create tacking stitches to lock your applique garment in place.
Trim excess parts
Separate the hoop from your device after lifting the presser foot. Trim the extra fabric with your scissors or other sharp tools. Make sure to cut right next to the stitches carefully such that no revealing edges show up.
The cutting process should not open the stitches. Avoid using blunt tools because they don’t give a clean and precise look. Give the appliques a professional shape.
Attach appliques to the main project
Now that you have completed applique jobs, it’s time to add them to the base fabric. A mini iron will make your job easier in this step. Press the applique layers to your main project with it.
This little effort will prevent puckering for a long time. Set the hoop back in your embroidery tool. For stitching, you should use the same thread color as the applique pieces. It will hide the stitches. Don’t worry about the bobbin thread because it only appears on the back.
Secure the shapes
Finally, you have to ensure that everything is secured in its place. Tack stitches are pretty simple and helpful to do this task. Sew two rounds of clean and even tack stitches. If you’ve picked straight patterns in the first section, go for decorative style next time. Remove the hoop, long loose strands, and unwanted thread lint.
And you are done! Now you have a finished project in front of you. Check whether you are happy with the results or not. It is okay to fail a couple of times. You can develop skills by practicing. Enjoy your embroidered projects!