Those of you who are new to the sewing business might be only familiar with a single-needle sewing machine.
But we all know what a single needle sewing machine is, though we might not operate it to stitch projects.
However, what is new to many of us, including beginners, is the Multi Needle Embroidery Machine.
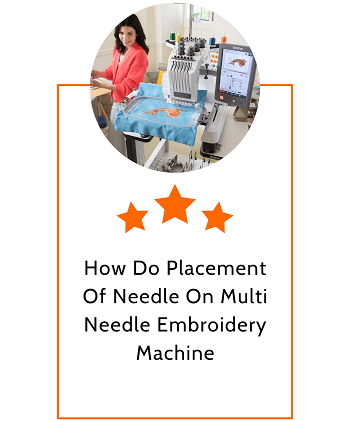
Multi-Needle Embroidery Machine
It’s a sewing machine that looks very different from a single-needle sewing machine. At a glance, you might miss that you are looking at a sewing machine. However, the work it does is no less than any wonder.
A multi-needle embroidery machine will give you the scope to use multiple needles in it, then thread the needles with different threads, making some really fancy and colorful embroidery designs on your projects without constantly changing the threads in the needles. It basically does the multiple-thread work easily and quickly.
So, how does the needle placement work in such a machine; if we have so many needles to put on the device, it might be an arduous job. But the answer is a loud no because the placement of each needle on the needle slot or head or chamber of the multi-needle embroidery machine is as easy as it can get. How to do it, let’s explain it to you step by step.
Step #1 – Grasp The Needle Head Portion
Multi-needle embroidery machines can have a minimum of four needle slots or chambers to a maximum of ten. So you can work with 4-10 needles and threads at one go with one machine. Depending on how many needles the sewing machine supports, you will have a row of needle heads/chambers that holds those needles.
Each of these heads is an L-shaped box type of thing with a window and a circular slot. You have the hole to insert the needle and a metal arm to thread the needle right underneath the chambers. And at the left, you have a long metal arm with a ring.
Step #2 – The Tools
With the machine, you will get two different tools to make the placement of the needle into the machine easier. The first one is a screwdriver with a round tip that fits the round slot on the needle head. And an applicator to hold the needle firmly while placing it in the head.
Step #3 – Hook Your Needle On The Applicator The Right Way
A basic sewing machine needle has a thick head and a sharp end. The thick head has two sides; one is circular and the other flat. So, extend the applicator’s metal arm to expose the hook and hold the needle keeping the circular side towards you and the flat side to the machine.
It’s better to grab the needle a little higher than its middle portion, perhaps close to where the thicker head ends, for enough room to insert it comfortably. The applicator is made to hold the needle firmly when you leave its hook-expanding handle.
Step #4 – Placement Of The Needle
You will insert the needle in an upright position. But before that, you will have to insert the pointy section of it into the long metal arm’s ring. Then glide it above through the metal arm right beneath the needle head, then the needle hole, and continue inserting unless you see the needle head pop up in the small square-shaped window right above the round screw slot.
Step #5 – Tighten The Screw
The needle head is showing, and its sharp point is aligned with the ring and not inserted in it like earlier. And this is when you will use the screwdriver to tighten the screw and lock the needle in its chamber. Continue tightening it clockwise until you feel it’s well-tightened.
Follow each step the same way to place all the needles in all the needle chambers the multi-needle embroidery machine has. And your sewing needles are ready to thread and create some of the most beautiful embroidery designs, taking the quality of your sewing projects multiple notches higher in minimal time and by facing less hassle.